Conditional content provides a way to target your messages to contacts based on specific custom fields or tags. You can use conditional content in campaigns, as well as emails within an automation.
Conditional content makes messages more relevant and personalized to contacts, which in turn helps you improve email performance, establish a stronger connection with your audience, and nurture relationships with contacts.
In this guide, we’ll provide three examples of when conditional content is useful and how you might implement it in your emails to improve message relevancy and further customize content based on your contacts’ interests and behavior.
Example #1: Interest-Based Tagging
You can use conditional content with tags to personalize content based on specific interests.
For example, if a contact repeatedly visits your Product A page, you might use an automation to tag them based on their interest (“Interest – Product A”).
You can then use conditional content to cross-sell to this contact in a campaign email, if you believe your contacts who are interested in Product A would also like Product B, for instance.
To do this, begin the process of creating your email from the Campaigns section of the platform. In the email builder, click and drag a text block from the menu into your campaign. Enter your copy into the content block, then click on the gear icon that appears on the right and select “Make conditional.”
Select the “Tag exists” option from the dropdown menu, then type in the tag name, “Interest – Product A.”
Click the OK button when you’re done. Now this content block will only appear to contacts who have the “Interest – Product A” tag.
Be sure to create an additional content block with an image of Product B, made conditional for those with the “Interest – Product A” tag. An image of Product B will further improve this cross-selling opportunity.
Example #2: Using Geographical Data in Conditional Content
You can use geographical data like a contact’s city or country to create conditional content.
Let’s say most of your contacts are geographically located near three major cities, and you’d like to send a campaign email containing an image of one of these cities, depending on your contacts’ geographical location. The purpose of doing this is to further personalize the content of your email by including the image that will resonate best with each contact.
In the email builder, add an image block to your campaign design, and upload your first image—a photo of Chicago. Then, click on the gear icon that appears next to the content block and select “Make conditional.”
Select the “GEO – City” option from the dropdown menu, then specify Chicago:
Now, this photo of Chicago will only appear to contacts who have Chicago listed as their city in your contact database. Repeat these steps to create conditional content for New York and L.A. as well.
Finally, you may not have geographical location data for all of your contacts, or they may not all be located in one of three cities. So we recommend conditioning an additional photo to appear to contacts NOT located in Chicago, New York or L.A. This helps you cover all your bases and guarantees that a photo will display in the email for all contacts.
Once you’ve added the photo, click on the gear icon and select “Make conditional.” As you did for the other photos, select “GEO – City” from the dropdown menu. Then, click the down caret in the menu below and select “Does Not Equal (Is Not)” before typing in “Chicago.”
Then, click on the Add Condition button and repeat for New York and L.A.
When you’re finished, click on the OK button. You’ve now conditioned this photo to only display to contacts who are not located in one of the three cities for which you’re including conditional photos.
Example #3: Leveraging Conditional Content for Teams
If you manage a sales or administrative team, you can use conditional content to include personalized signature information in campaign emails.
You’ll first need to create two custom fields: Assigned_Sales_Rep and Assigned_Sales_Rep_Email.
Click here for step-by-step instructions for creating new custom fields.
Once you’ve created your custom fields, navigate back to the Campaigns section of the platform and click the green New Campaign button to begin building your campaign email. Once you’re in the email builder, add a new content block to your campaign email, as in the previous examples.
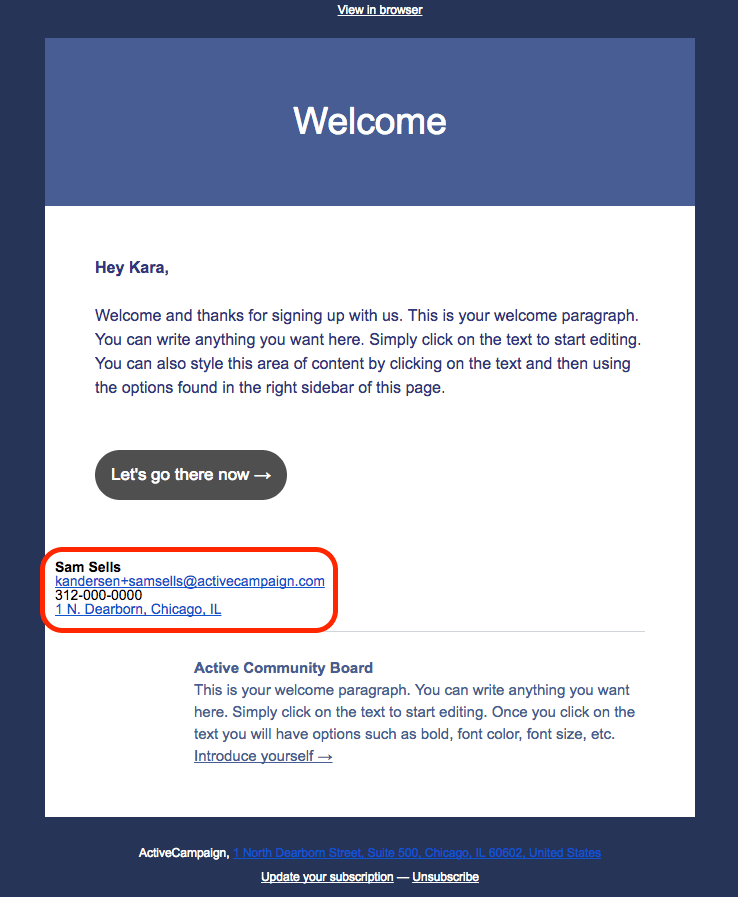
Next, fill in your signature information. Because you created custom fields for assigned sales reps, you can use personalization tags here to represent the name and email of the rep who is assigned to each contact. Simply click on the Personalize button in the Edit options box to find, select and add the appropriate personalization tags to the signature line:
Once you’ve finished adding your signature information, click on the gear icon that appears next to the content block and select “Make conditional.” Select the Assigned_Sales_Rep custom field from the dropdown menu, and type in the name of one of your sales reps, “Sam Sells.” Click the OK button.
Now this content block will only display to contacts whose assigned sales rep is Sam Sells. The personalization tags will pull Sam’s name and email address from the contacts’ custom fields, so when your campaign is sent they will see:
You will need to add an additional content block and repeat these steps for every member of your team. So if there are three sales reps on your team, you’ll need three content blocks total, containing conditional signature information.
This is another example of how conditional content saves you time and effort by allowing you to create just one campaign email, instead of one for each team member.
Learn More
If you want to work more efficiently without sacrificing the amount of personalization you use in your content, you will find conditional content very useful. Remember, this feature allows you to craft hyper relevant messaging for your contacts without spending a lot of time creating multiple emails.
To learn more about using conditional content, read our introductory guide.
For more how-to’s, check out this Help article on using conditional content.
